How Do You Clean a Hydration Bladder?
Drinking water should always be kept clean and safe. However, most people find it difficult to effectively clean and maintain hydration bladders. For the record, bladders are prone to providing conducive environment for growth and development of molds and bacteria if not properly taken care of. This, as you may know, makes your water taste more funky and may also become a health hazard.
While hydration bladders should always be properly drained, washed, rinsed and dried in open air after use, you may not find that time after your weekend trip or vacation. Instead, you will often leave it in the backseat or toss it somewhere in the closet and rush to the house to get yourself a bottle of beer or a refreshing bath just to think of it when you begin to plan a new trip.
When the time comes for retrieval, your bladder will have accumulated chunks, flunky flavors, mildew and molds. This is the reason why it is recommended that you clean your hydration bladder after every outing but this, like many other activities, is easier said than done. Strange enough, even those who would want to obey this basic rule find it difficult to do so as they do not know how to properly clean a hydration bladder.
So, how do you clean a hydration bladder? This should not be a big issue as there are four easy ways of effectively cleaning your hydration bladder.
Related: The best hydration bladders for hiking, campign or hunting

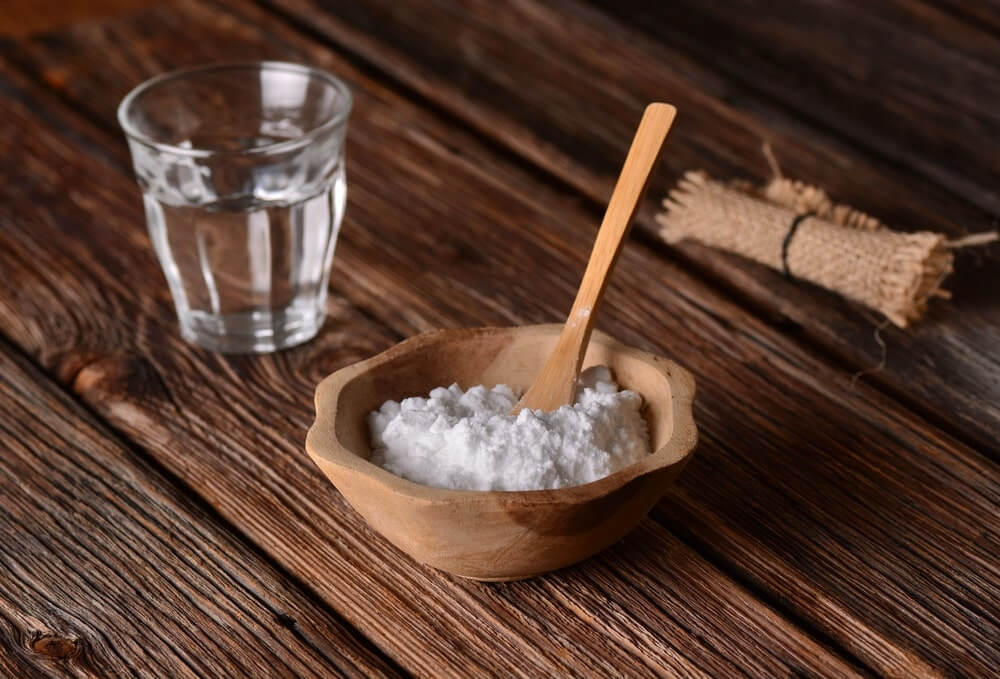
Method 1: Using Baking Soda or Bleach
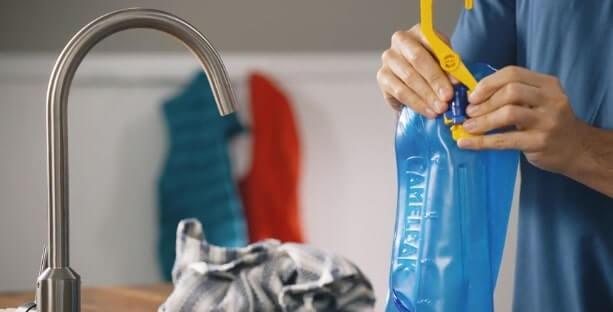
- Step 1: Drain the contents of your hydration bladder, flush the hose by holding the reservoir above your head and pinching the hose.
- Step 2: Fill the reservoir halfway full with warm water, swish and flush the hose again as you drain.
- Step 3: Scrub as much as possible the interior of the reservoir. Rinse properly.
- Step 4: In a different container, add two teaspoons of bleach or baking soda for every liter of hot water and stir properly until the mixture is fully diluted. The reason of mixing this in a separate container is to help minimize the taste of chlorine remaining in your reservoir.
- Step 5: Add the mixture into your bladder until the reservoir is full. Push some of the mixture through the bite valve and the hose. Let it soak for about one hour.
- Step 6: Drain the contents of the reservoir ensuring that you flush the bite valve and the hose. Rinse with Castile soap or mild dish soap. Remove the gasket to find ample space for scrubbing the threads.
- Step 7: Rinse with clean water and air dry.

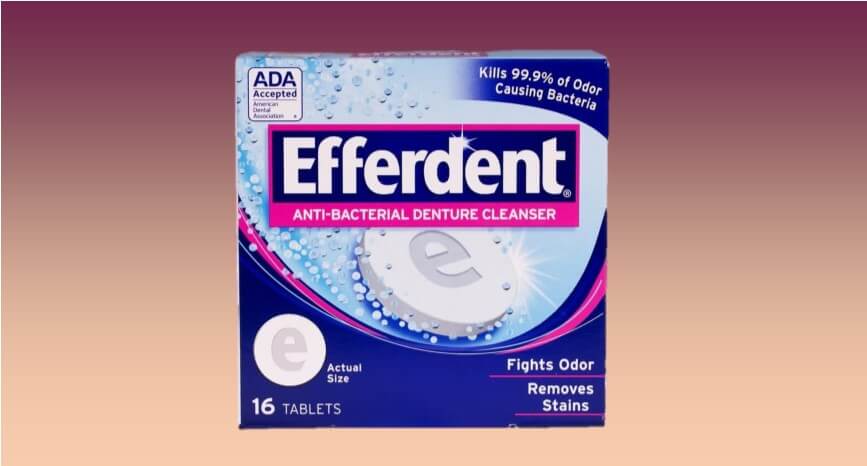
Method 2: Using Denture Cleaner or Efferdent Tabs
- Step 1: Empty the contents of your hydration bladder.
- Step 2: Pour hot water inside the reservoir and ensure to pass hot water through the tube and bite valve.
- Step 3: Add one tablet of denture cleaner and soak until the tablet stops working. This should take between 30 minutes to 1 hour.
- Step 4: Scrub properly using dishwasher brushes or any appropriate brush. Remove the gasket and scrub the threads well.
- Step 5: Drain the washing solution and rinse with mild dish soap as you scrub again.
- Step 6: Rinse with clean water and air dry to ensure that no moisture is left in the interior of the bag.

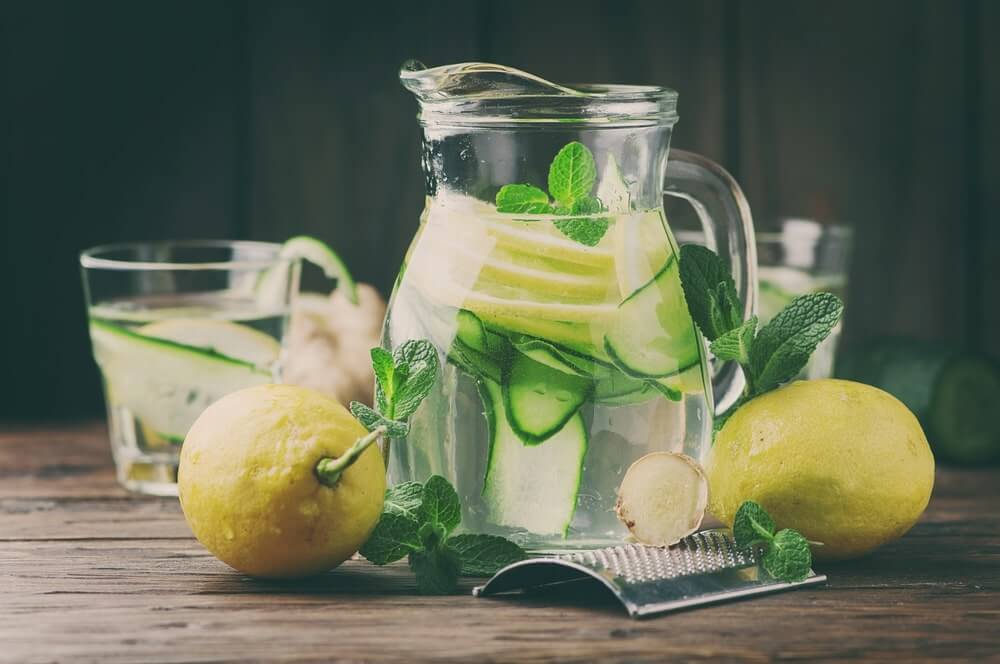
Method 3: Using Lemon Water or White Vinegar
- Step 1: Just like in the initial stages of the other methods, drain the contents of the bladder.
- Step 2: Pour hot water in the reservoir and add two cups of lemon water or white vinegar for every liter of water.
- Step 3: Pinch the valve to ensure that this detergent mixture passes and rotates in the valve and tube.
- Step 4: Let the mixture soak for about 30 minutes before you drain. Scrub the interior of the bag well.
- Step 5: Rinse with Castile soap and scrub again. Drain the mixture making sure that you push some through the valve and hose.
- Step 6: Rinse with clean water and air dry.
Method 4: Using a Dishwasher Machine
This is the simplest way of cleaning your hydration bladder. However, it only applies to bladders that are dishwasher safe. In this case, these bladders often come with cleaning instructions. Most bladders will need to be disassembled before being put in a dishwasher for cleaning.
How to Air Dry a Hydration Bladder
Drying a hydration bladder is one of the greatest challenges for outdoor enthusiasts. This is basically due to the fact that the interior of the reservoir often collapse allowing no airflow to and from the reservoir. Another reason is because the bite valve is never left open hence susceptible to the development of molds and bacteria.
It is important to always air dry your hydration bladder because if you don't, the moisture trapped inside will definitely provide a habitat and breeding environment for bacteria and molds. The best way to dry your bladder is to use a special hanger that will keep the interior of the bladder apart. For the bite valve and the hose, leave a toothpick or a small piece of stick in the hose to ensure that there is enough airflow through the valve. This will ensure that the tube and valve are completely dry before storage.
Additional Care Tips for a Hydration Bladder
- If the weather is so humid that the bladder may not be able to dry, keep it in a refrigerator to prevent the growth of bacteria, mold and mildew.
- Soak the hydration gear overnight with your preferred detergent (I prefer lemon water or vinegar) if your bladder is very dirty and the bad taste cannot go away even after initial clean up.
- Rinse the bladder with clean water every time you use the bladder for a sports or energy drink.
- Some alcohol brands such as tequila have a strong taste that will not easily get out of the bladder. It is therefore advisable you buy a separate bladder for such drinks.
Microorganisms Commonly Found in Hydration Bladders
Without proper cleaning and care, hydration bladders will host several microorganisms which in essence will contaminate your water. These microorganisms also affect the quality and taste of your water, making it less interesting. Factors that contribute to growth of microbes in hydration bladders include:
- Continuous contact with hands and mouth.
- Cracks, edges and hidden areas of bladders.
- Humidity that is often trapped in the bladders provide a conducive atmosphere for the growth of microbes.
The most common microbes likely to be found in the hydration bladders include:
- Bacteria: Streptococcus and Staphylococcus species are the most common types of bacteria in hydration bladders. The other common type is the Bacillus cereus.
- Norovirus.
- Fungi which are majorly harmless.
- Yeast too are present but these pose no danger when present in low quantities.
- Molds especially Tramets, Cladosporium, Penicillium and Bjerkandera species.


Charlie Leone
Website Owner/Editor
Welcome to CampingManiacs