- Camping Tips
- Hiking Tips
- RV Camping
- Destinations
- Gear Reviews
- Blog
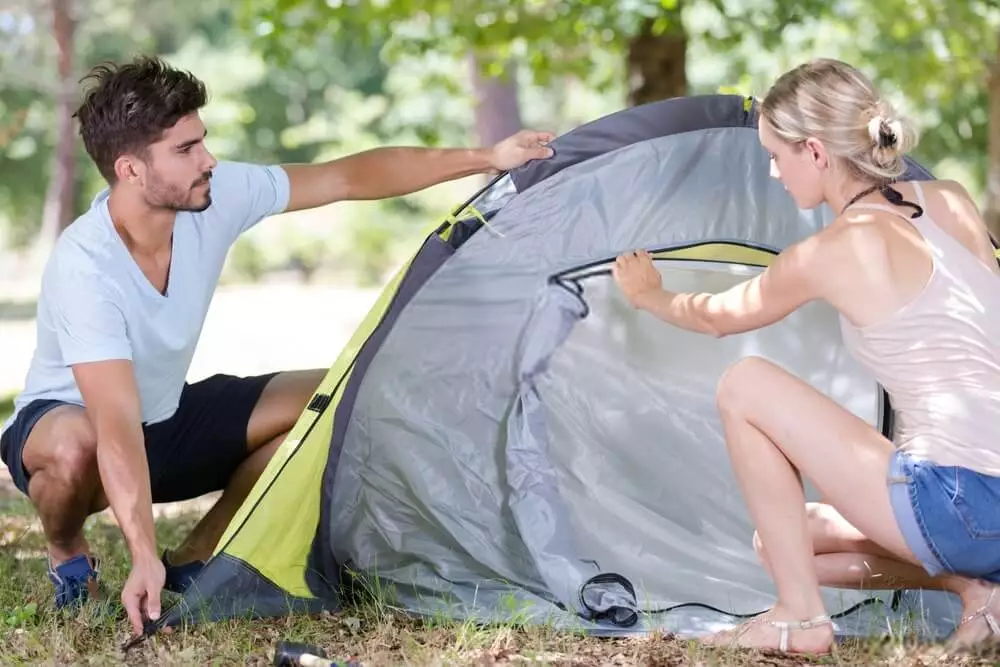
We all want to escape at times finding the right place to decompress and enjoy a simpler life. Camping allows us to be outdoors, connect with nature, spend time with family and friends, and just take time to recharge.
Part of the camping experience includes having proper shelter from the elements and a place to relax. A tent is the critical piece of equipment that will do just that. However, making sure your tent is in good condition ready for the next camping season is an important step before planning your trip.
This article will help guide you through some essential steps in preparing your tent for the upcoming camping season. Everything from inspecting the tent to cleaning and repairing to proper storing of your tent will be covered. Together, let’s be sure we are ready for camping season.
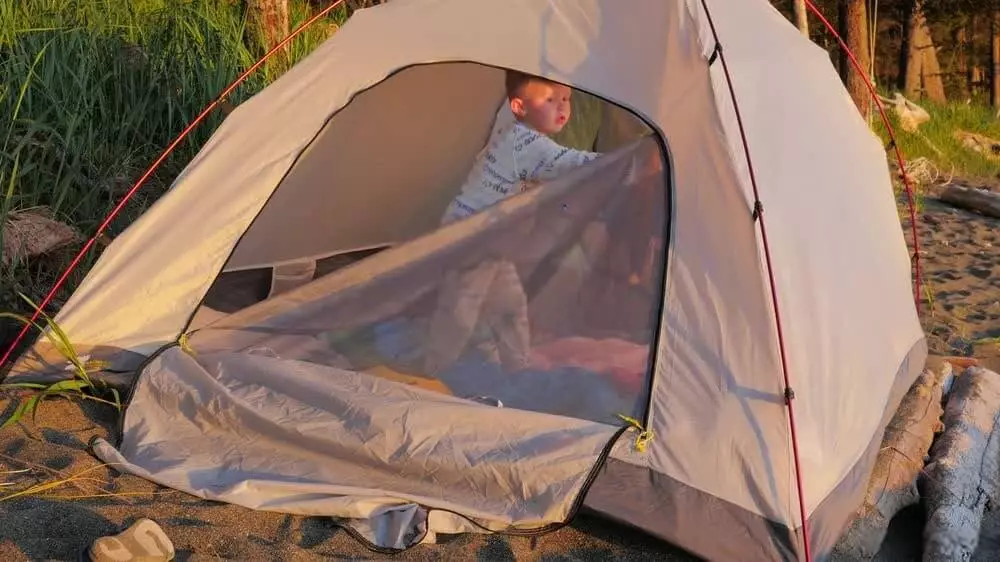
A tent provides invaluable shelter, but the constant exposure to the elements and frequent use can take its toll on even the best tents. It is important to take your time and thoroughly inspect the tent for any wear and tear.
A wonderful trip can turn miserable when finding holes, broken zippers, or other damages to the tent while at the campsite.
Before you place the tent in your car, please check for any holes, tears, fraying seams and pay particular attention to the poles, zippers, and stakes that can be easily overlooked.
Once you have a list of any damages, assess whether they can be easily repaired and if they require immediate repair or can wait until after the trip.
Don’t forget about checking the tent footprint as it is another layer of protection for you and your tent. Taking the time to properly inspect the tent will save you lots of inconvenience and stress at the campsite.
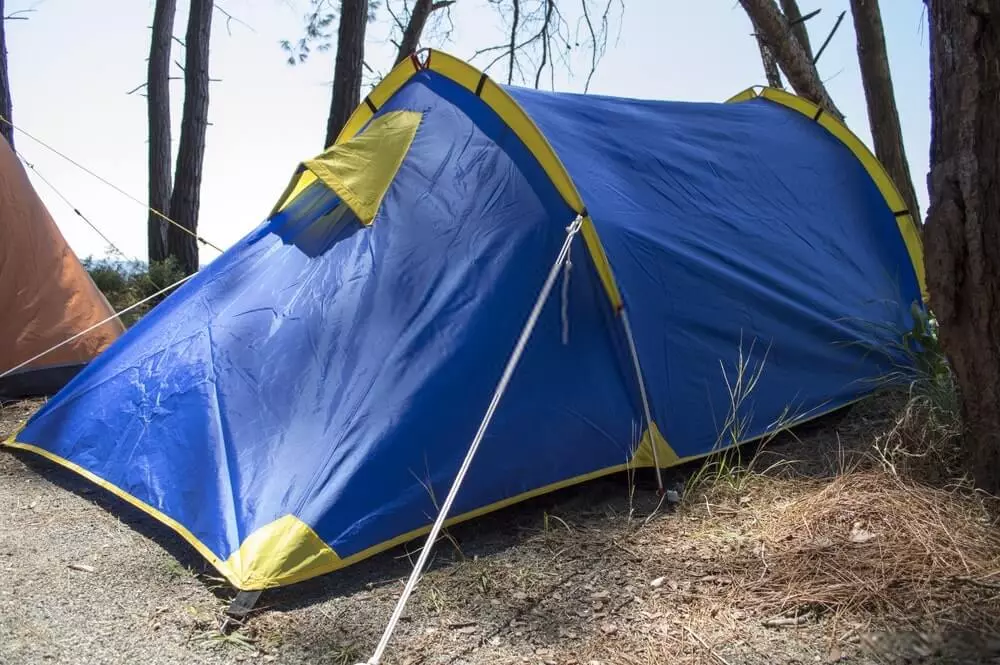
After inspecting the tent, it’s time to give it a cleaning. Dirt, debris, and mildew can accumulate on the tent during storage as we are usually tired returning home and just want to put all the equipment away.
Cleaning the tent will truly help preserve its lifespan giving many years of camping pleasure.
Find a soft-bristled brush or sponge and some mild detergent to wash the tent inside and out, along with the poles and stakes.
Check with the manufacturer information on best cleaning products avoiding anything too harsh or abrasive that may diminish the waterproofing and/or fade the fabric.
Give the tent a good rinsing letting it air dry thoroughly before moving to the next step.
Related: The best camping tents (according to outdoor experts).
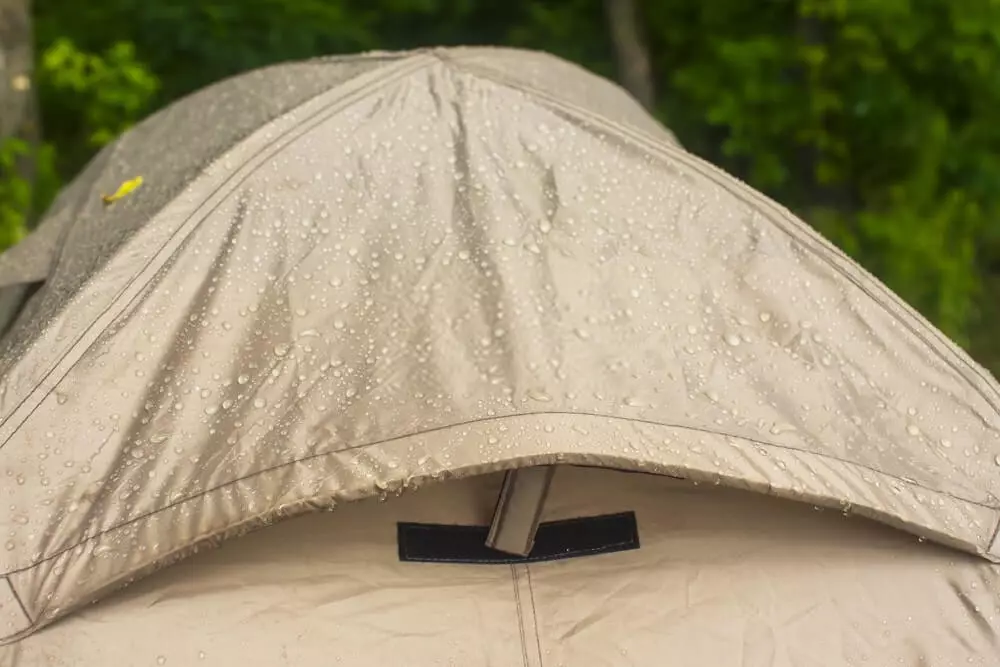
Have you ever been camping and suddenly a heavy rainstorm passes through dumping water on your tent? It is at that time you think about the waterproofing of your tent and hope to stay dry throughout the storm.
No surprise, a key part of preparing your tent is ensuring its waterproof capability.
Most tents, even those of high-quality and cost, can lose their waterproof integrity over time. Water has a tendency to find the least resistant path getting into seams and fabric, causing dampness inside the tent or a full leak.
Before heading out for your first camping trip for the season, it is important to add a waterproofing product to your tent. There are many waterproofing products on the market coming in a variety of sprays, solutions, and waxes.
It is important to read the manufacturer's recommendations before buying and applying any waterproofing product. Once you find the right product and apply it evenly on the fabric and seams, let it dry completely.
You can now test the waterproofing capabilities by pouring water and watching how it beads and rolls off the tent.
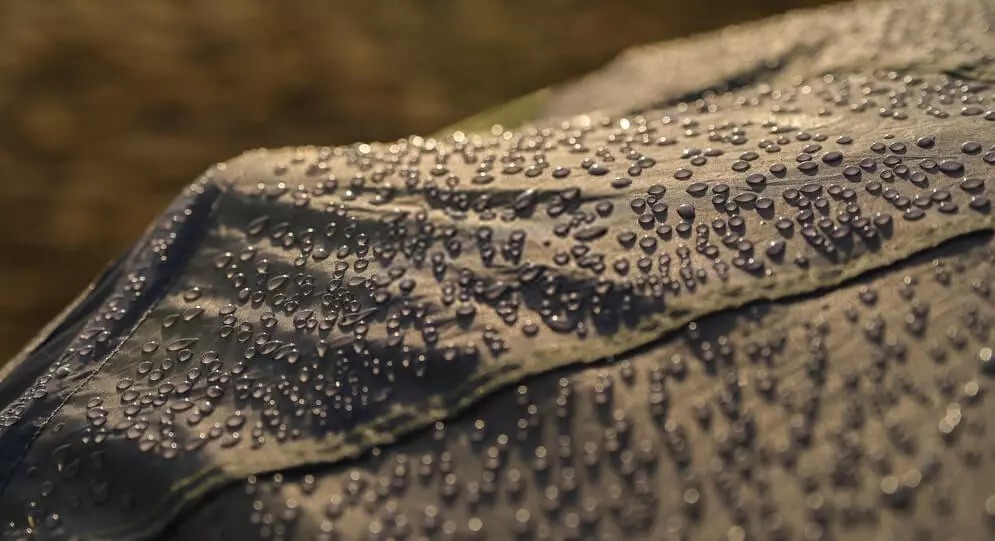
Seams are the most common place where water can seep into the tent leaking on the interior of creating a damp environment.
Wait for a sunny day or if you have a well-lit room that can accommodate the tent, that would work as well.
Check the tent’s seams seeing if any light comes through while looking from the inside out and under the rainfly.
To seal the seams, a waterproofing sealant is applied. Before buying a sealant, make sure it is suitable for your tent’s fabric.
Most tents are polyurethane-coated, but some may be different, so please check with the manufacturer to be sure.
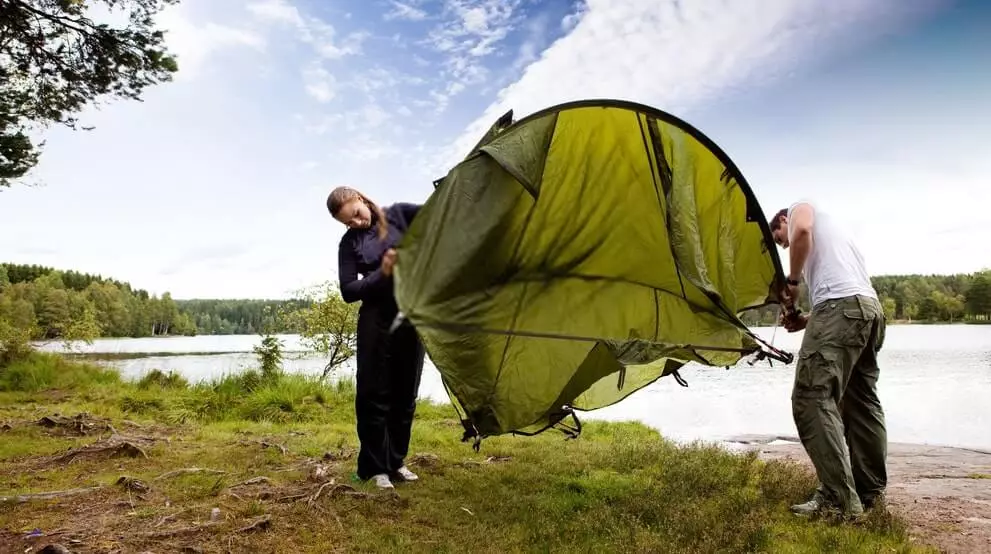
Finding and fixing any damages to your tent before you hit the campsite will ensure a much more enjoyable camping experience. Some smaller holes or tears can be patched at home using a repair kit.
You may find larger holes or more severe damage requiring a professional to assess and repair. Manufacturers have instructions on how best to repair holes, tears, and frayed seams with the appropriate materials or products.
Poles and stakes that are damaged should be replaced with new ones for best functioning at the campsite.
Zippers may be repaired at home depending on the severity of damage or they may also need a professional to repair.
Once weak points in the tent are repaired and stakes and poles replaced, you can have peace of mind knowing the tent is ready for another season.
Use rubbing alcohol to clean the seams before applying the solvent. If you find one seam losing its effectiveness, probably the others will be following, so inspect very carefully.
Apply the seam sealer and let it dry completely. A helpful hint is to place the rainfly upside down on the tent making it easier to get to the seams.
Once the sealant is dry, inspect it again in the lights seeing if it is sealed properly.
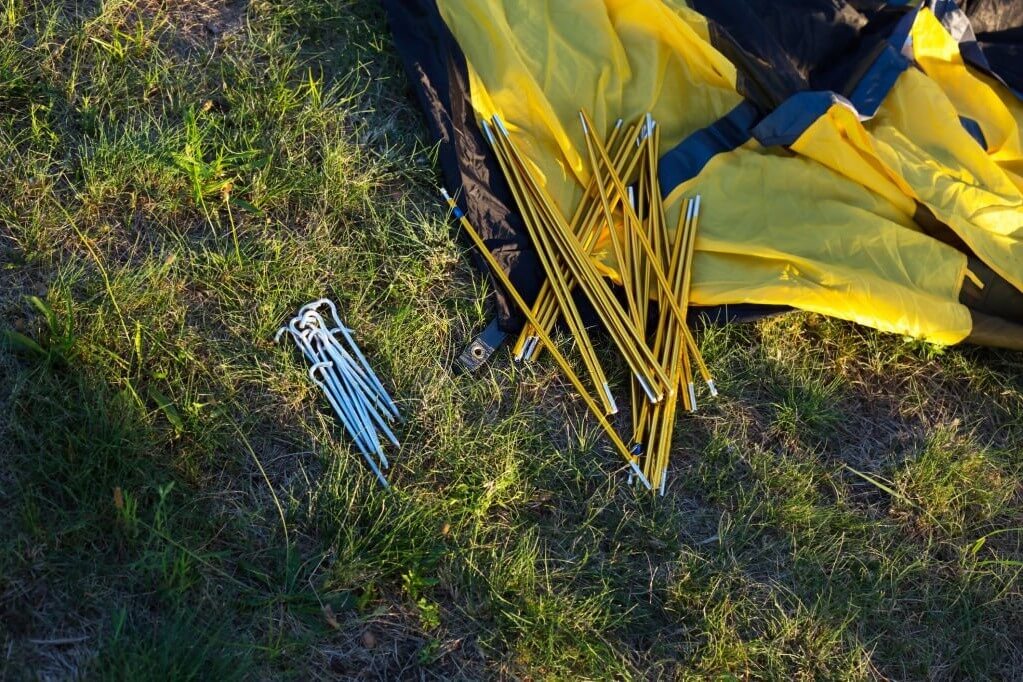
Oft-times we do not think about the stakes/pegs and footprints before heading out to the campsite.
Pegs and stakes that are bent and broken serve no purpose and should be replaced. Count the number of usable pegs making sure there is an ample supply for your needs.
The footprint adds an extra layer between you, the tent, and the ground underneath. The footprint is the unsung hero on a rainy day or just keeping the mud, sticks, and stones from harming your tent.
The footprint adds to the life expectancy of your tent. Always make sure the footprint is the right size for your tent.
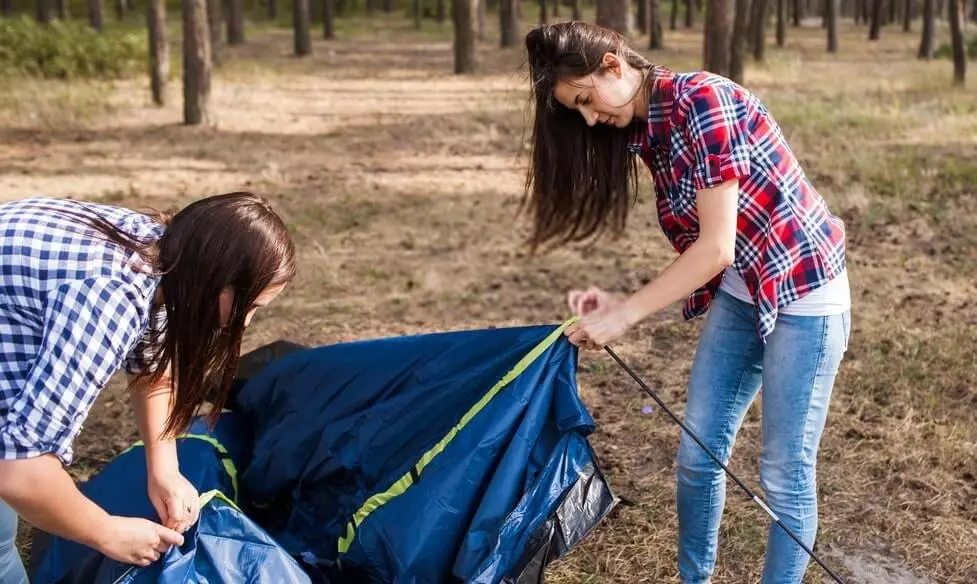
Having gear stored properly inside the tent will maximize your space and offer the most efficient use of the tent’s interior. Gear organizers can be simple storage bins found at most stores.
The bins can double as tables for lights, fans, and keeping backpacks off the ground. As a reminder, please never store food or other items that have a high aroma that may attract animals to your tent.
Storing your tent after use can also be something overlooked but very important. Make sure the tent is completely dry as moisture will allow mildew and mold growth. Remove debris, dirt, or leaves from the fabric and poles.
Fold or roll the tent neatly placing it in a dry/cool location. One tip is to use the bag as a guide when rolling as to not make the tent too long to fit inside.
It helps to occasionally check the tent during the off-season for any moisture and/or musty odors.
Properly storing a tent will increase its life and have it ready for your next camping trip.
As campers, we like to be ready for anything, preparing our trip and bringing the proper equipment. Preparing the tent for the camping season should be at the top of the list when getting ready for those outdoor adventures.
Inspecting, repairing, and storing the tent should remain part of the pre and post-season checklist every year. Spending a little more time on preparing the tent will ensure a much better camping experience adding to the readiness for what may come your way.
Enjoy the camping life! Be safe!
Charlie Leone
Website Owner/Editor
Welcome to CampingManiacs